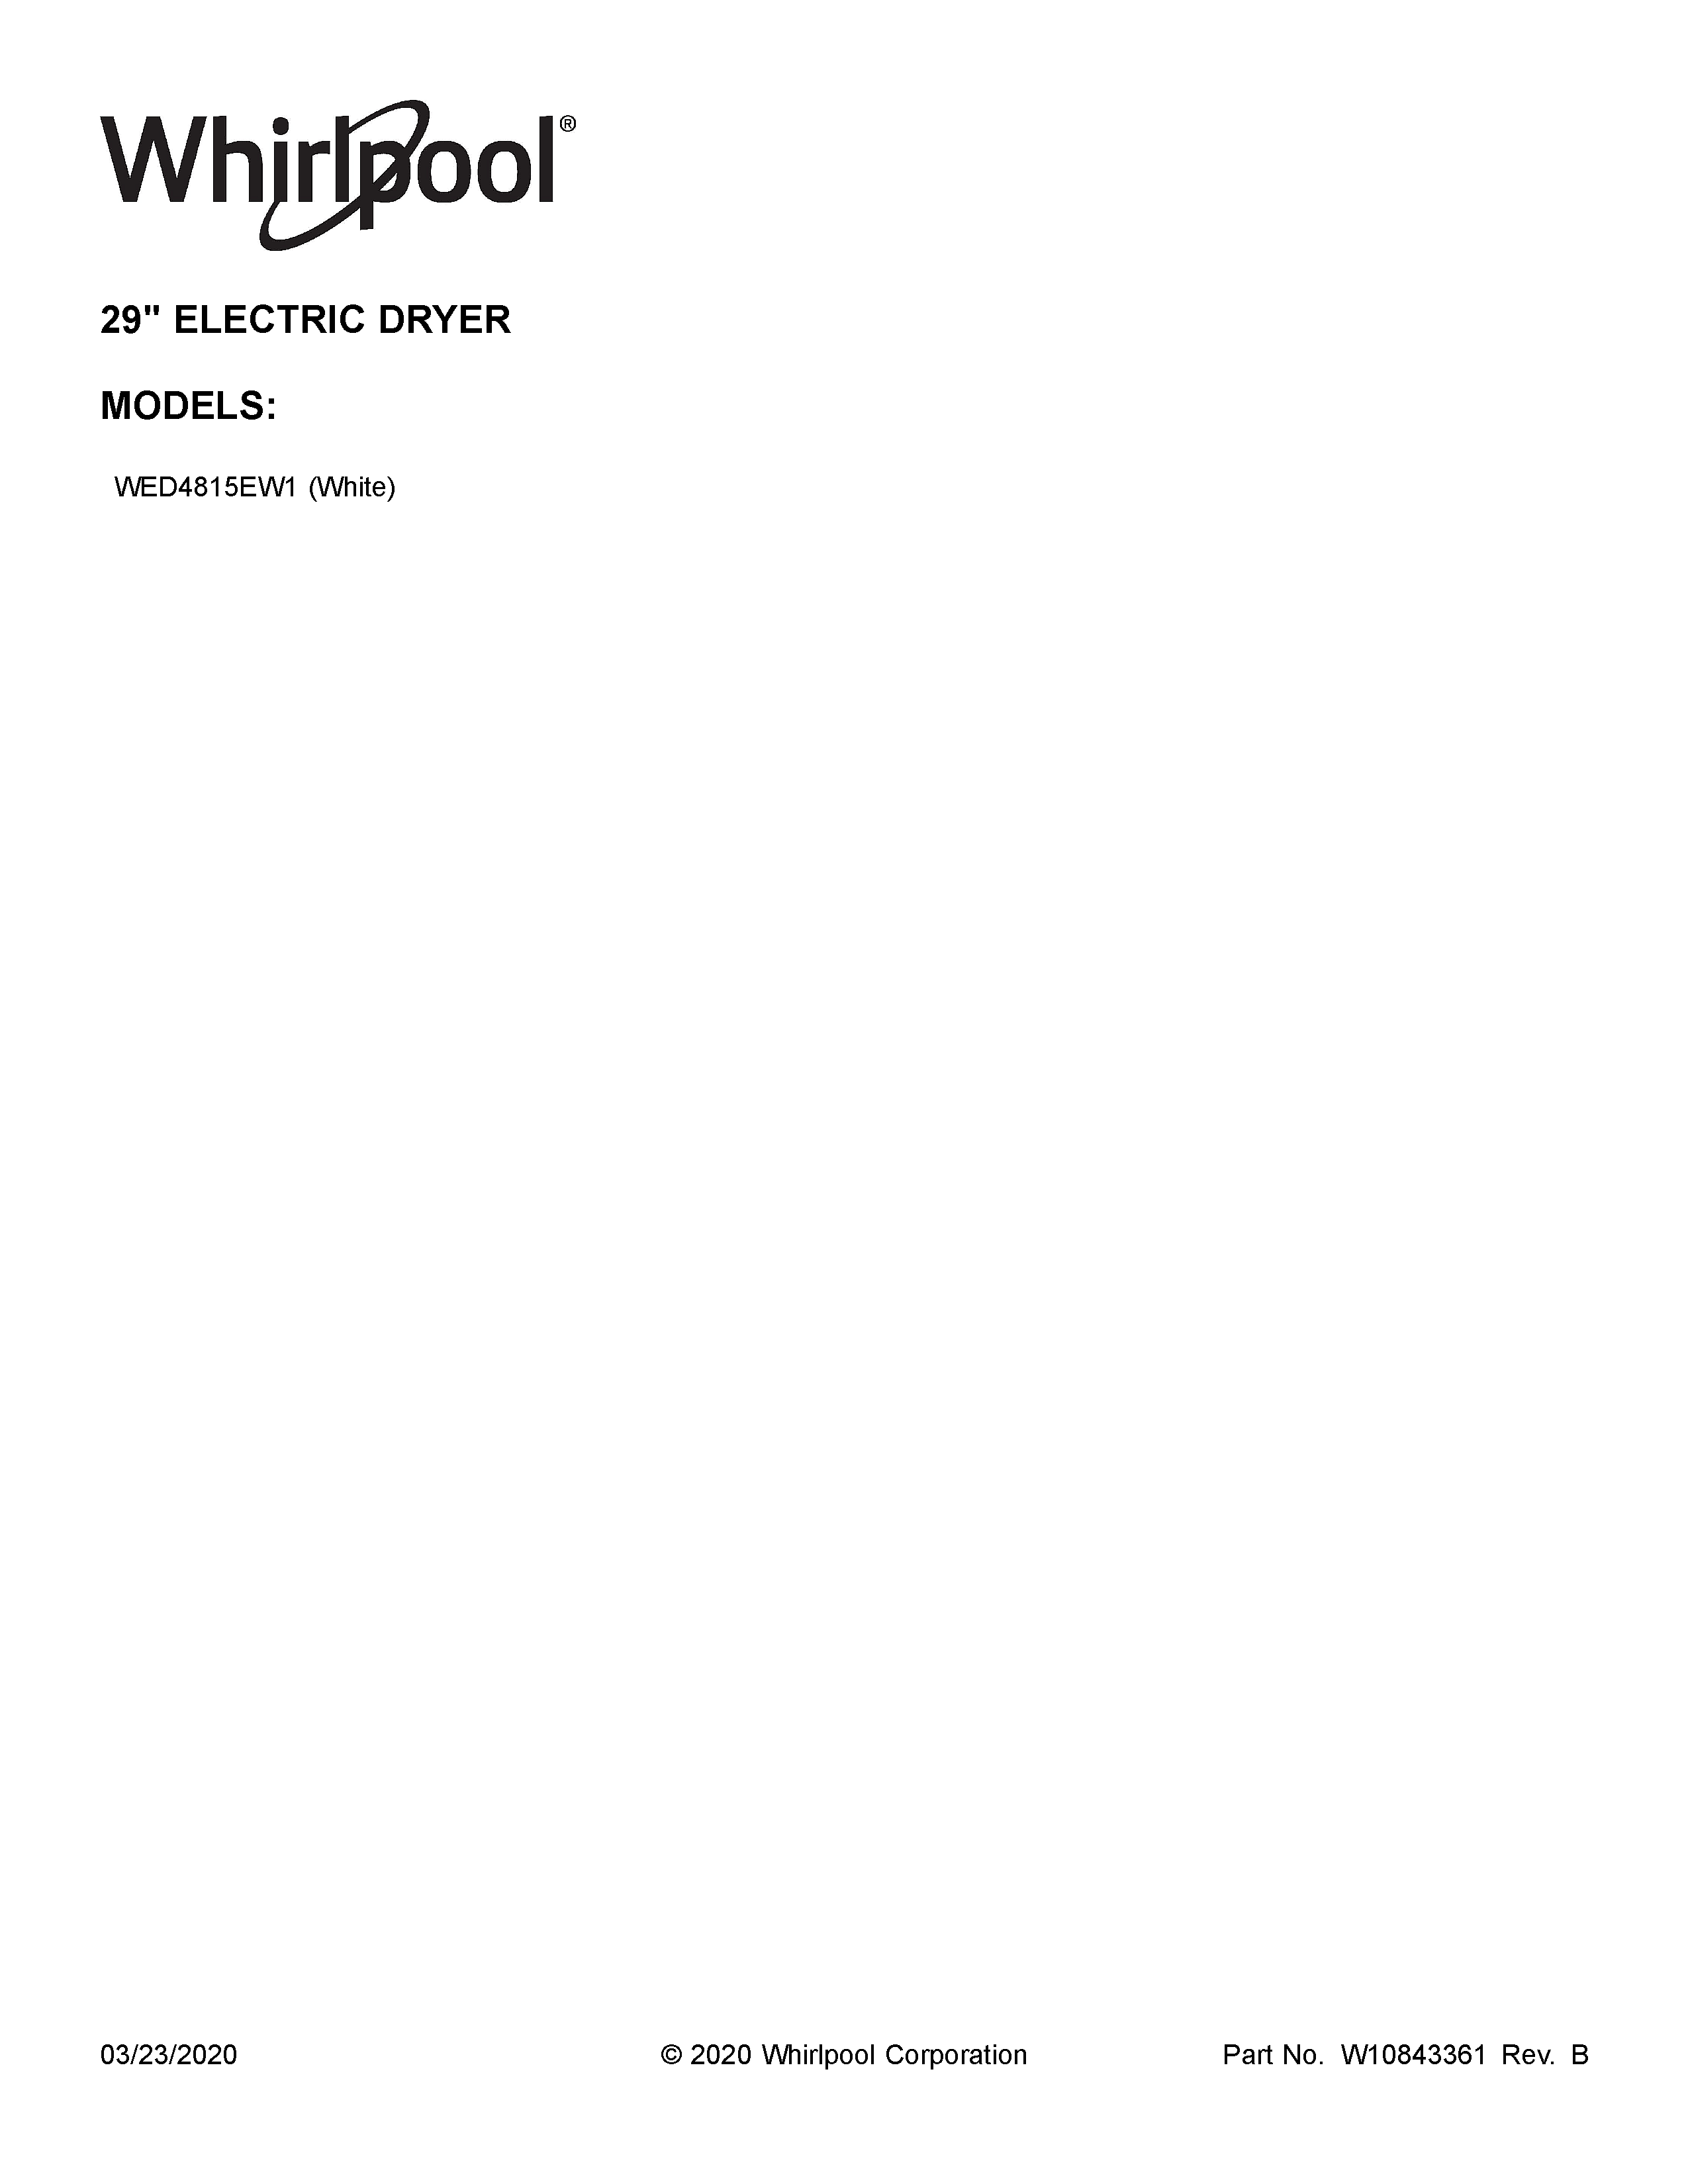
Whirlpool Dryer Model Wed4815ew1 Parts
Whirlpool Wed4815ew1 Parts Reliable Parts
Whirlpool Wed5500xw0 Dryer Parts Sears Partsdirect
Whirlpool Wed4815ew1 Dryer Parts Sears Partsdirect

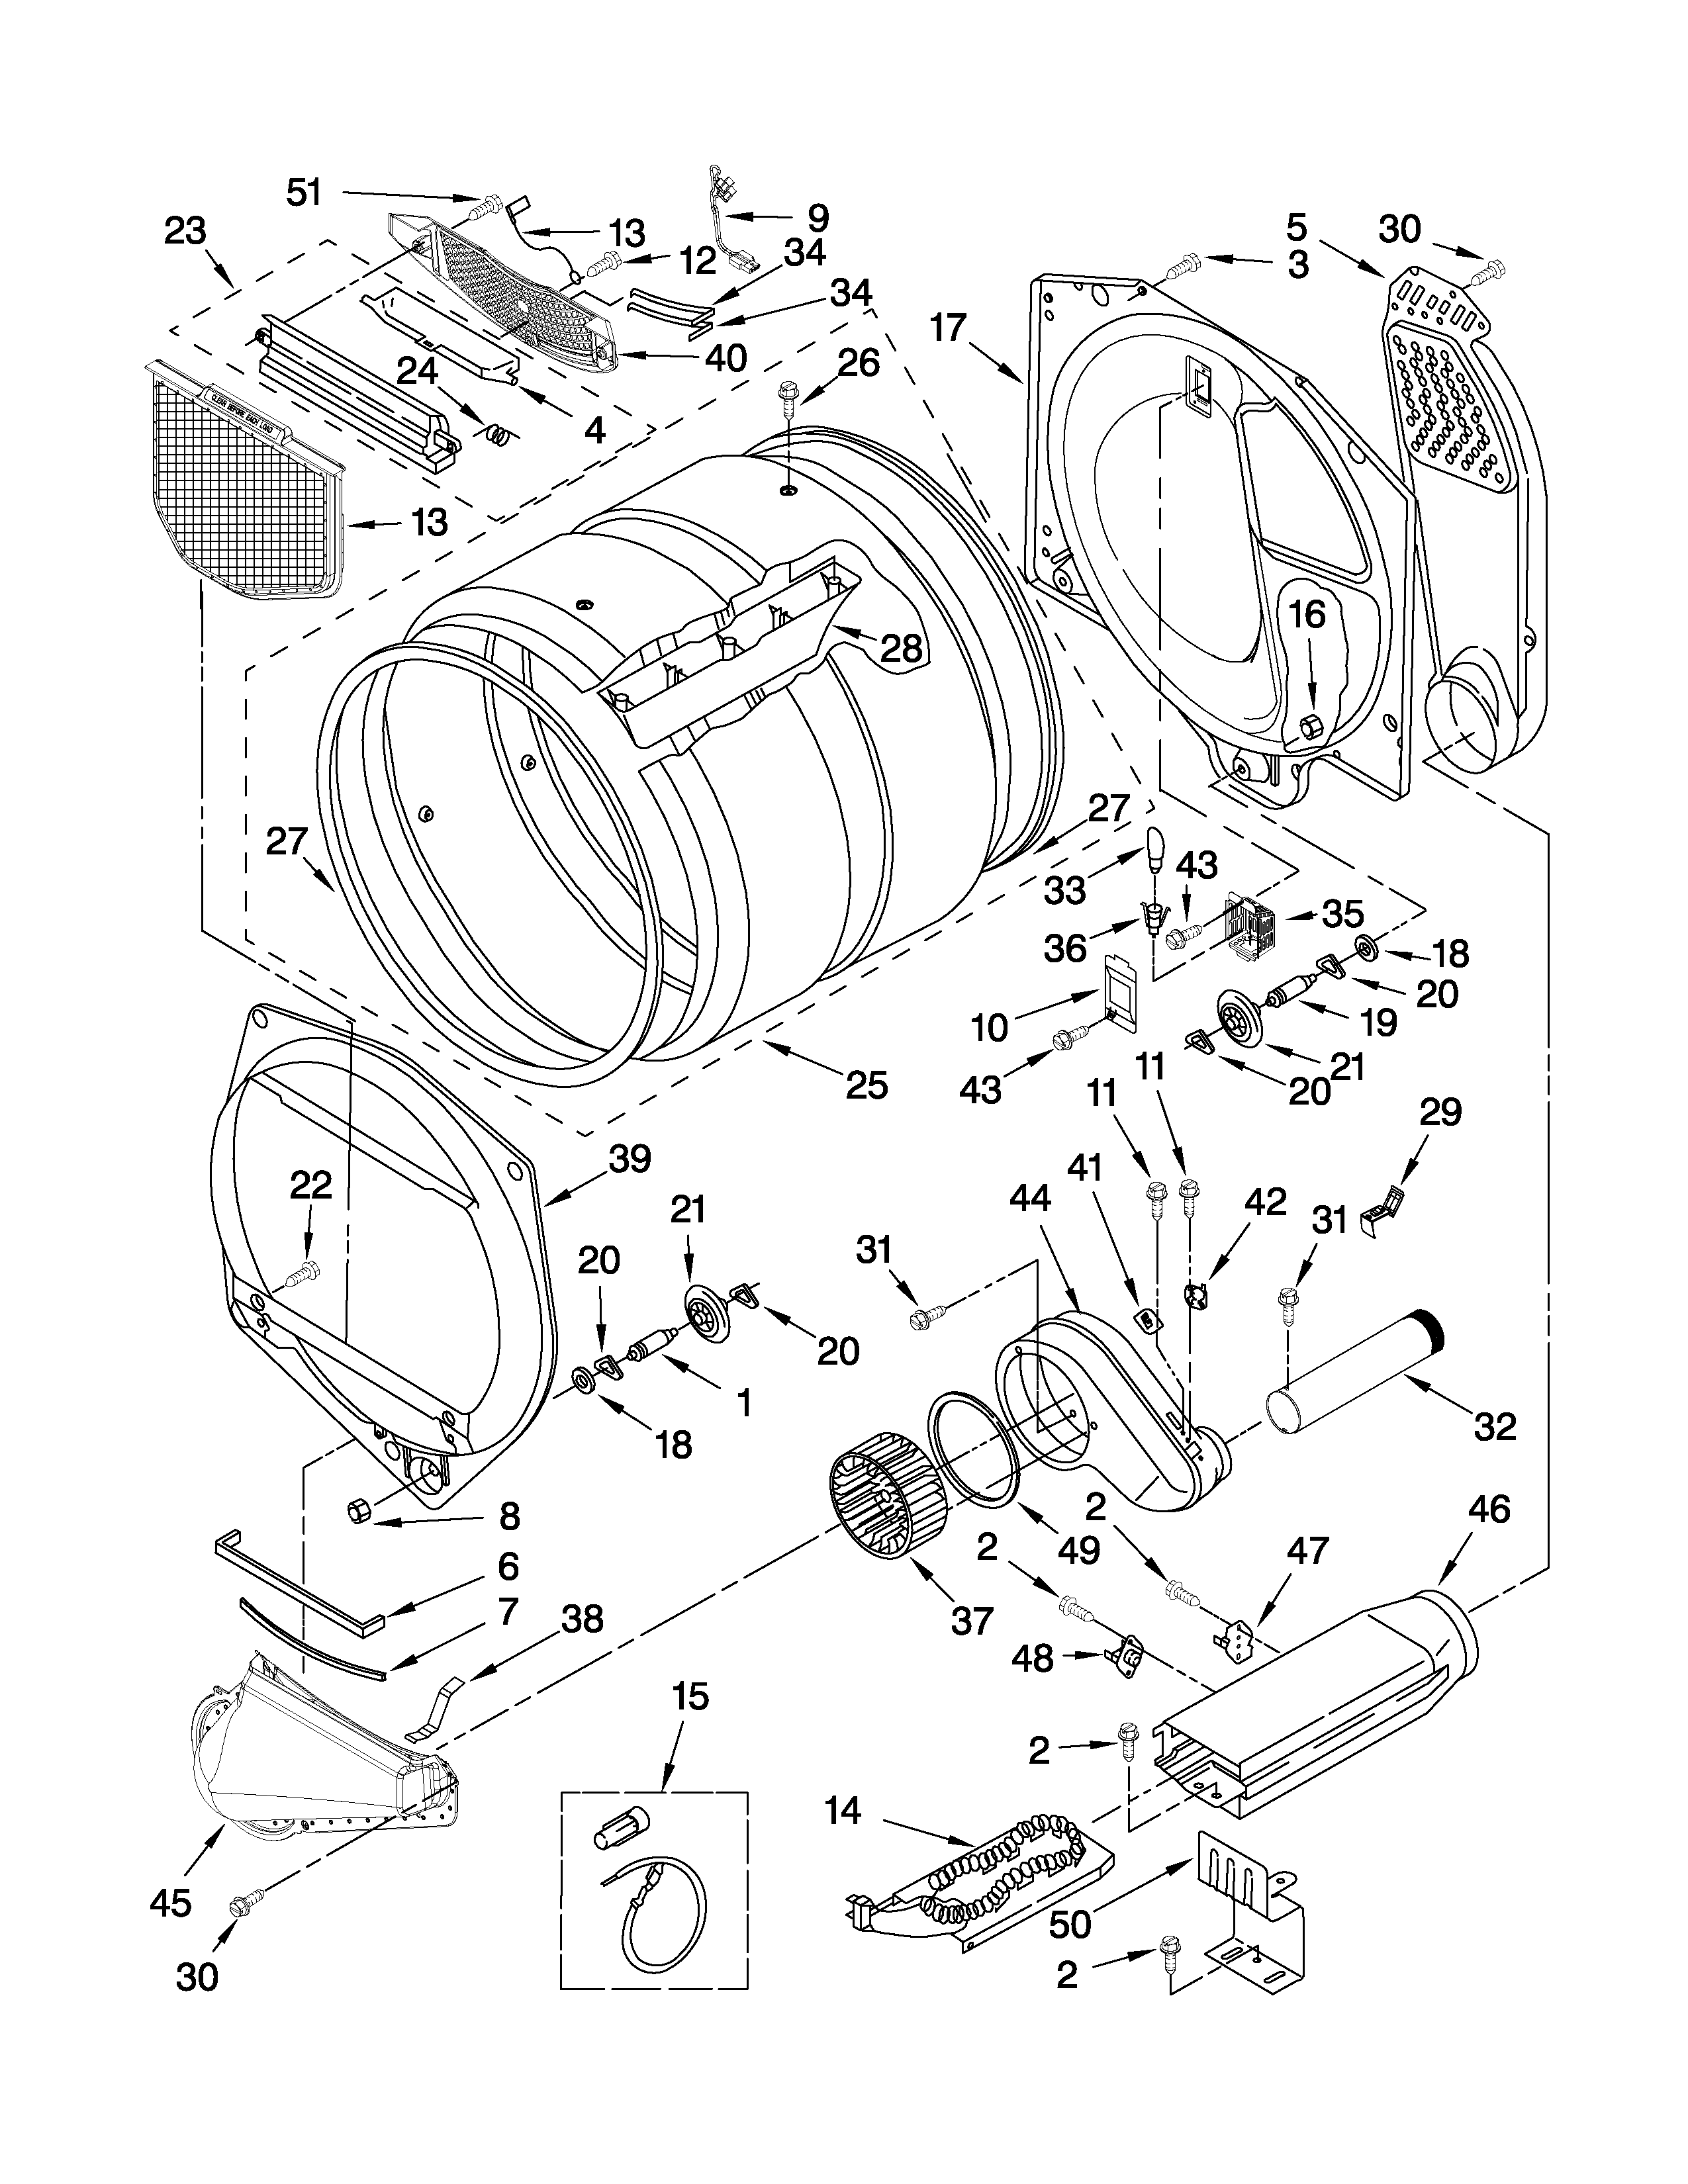
Whirlpool Dryer Wed6400sw1 Parts List Whirlpool Dryer Clothes Dryer Diagram

Bulkhead Parts For Gew9250pw1 Whirlpool Dryer Fix Com Whirlpool Dryer Electric Dryers Whirlpool Refrigerator
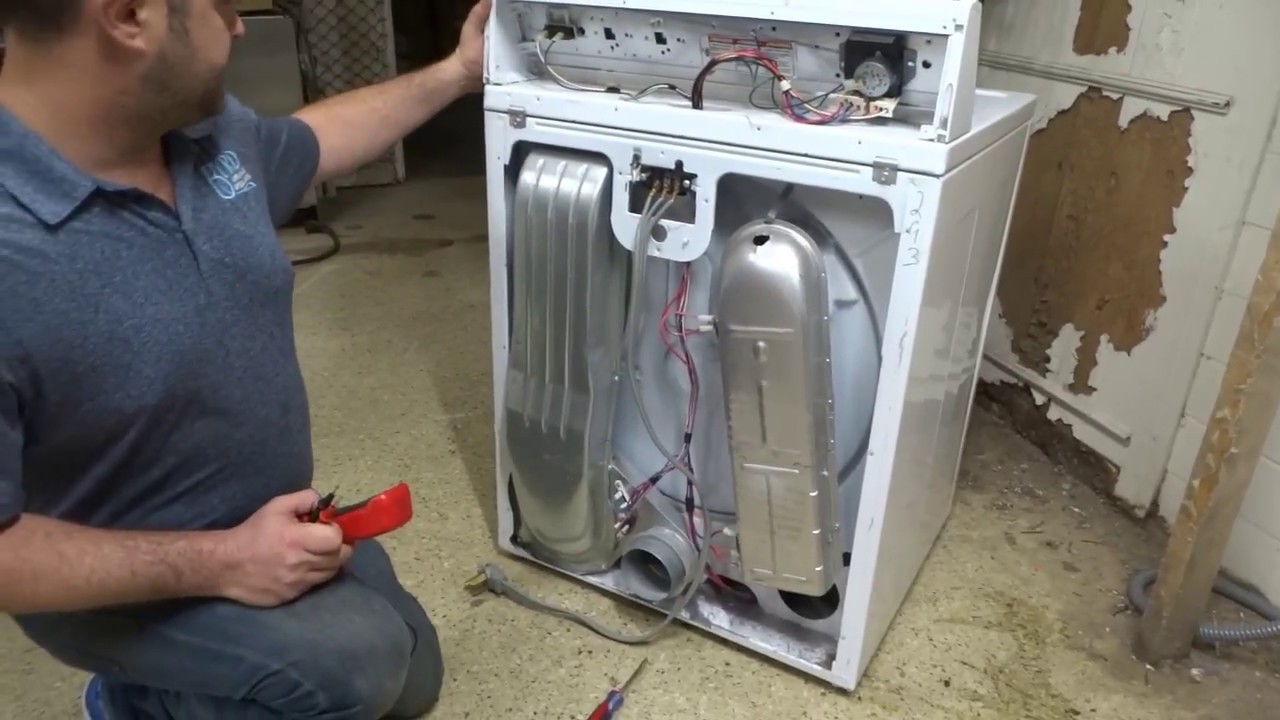
Whirlpool Dryer Not Heating Diagnosing Common Issues Youtube

Sears parts direct has parts manuals part diagrams for all types of repair projects to help you fix your dryer.
Whirlpool dryer model wed4815ew1 parts.

Parts And Accessories 99697 Dryer Heating Element For Whirlpool Kenmore 3387747 Wp3387747 Ap6008281 Ps117414 Buy It Now O Heating Element Whirlpool Kenmore
Whirlpool Dryer Wed4815ew1
Wed4815ew1 Whirlpool Replacement Parts Encompass

Maytag Washer Mede300vw0 Parts List Whirlpool Dryer Gas Dryer Maytag Washers
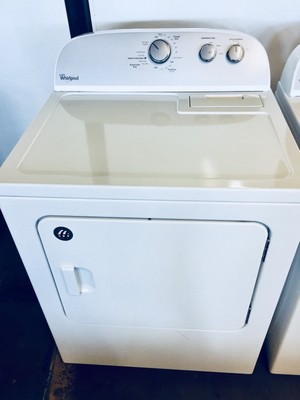
Whirlpool Wed4815ew1 Front Load Dryer Used 883049447339 Ebay

Whirlpool Duet Dryer Will Not Heat Up Whirlpool Dryer Electric Dryers Whirlpool Refrigerator
Official Whirlpool Dryer Parts Order Today Ships Today Partselect

Whirlpool Dryer Rex6634rq0 Parts List Whirlpool Dryer Maytag Dryer Dryer Repair

Basket Hub Kit W10820039 Official Whirlpool Part Fast Shipping Whirlpool Washer Maytag Bravos Maytag Bravo Xl

Dryer Repair Replacing The Light Bulb Whirlpool Part 67001316 Youtube
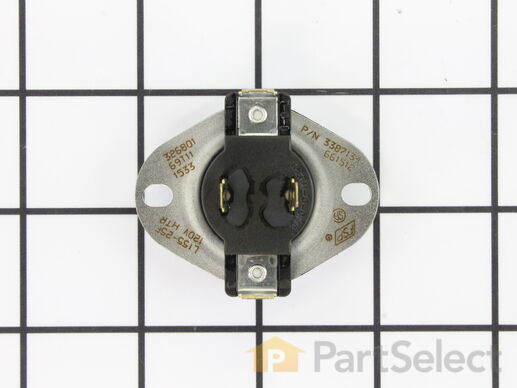
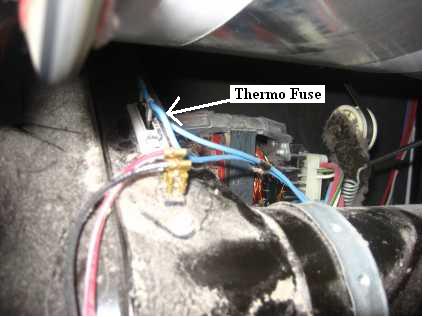
Whirlpool Dryer Repair Replacing The Thermal Cut Off Kit Whirlpool Part 279816 Youtube

Whirlpool Duet Dryer Control Panel Console Wpw10215749 W10215477 W10215749 Whirlpool Whirlpool Dryer Whirlpool Kenmore

Whirlpool Awo D 7224 Washing Machine Service Manual English Deutsch Washing Machine Service Whirlpool Washing Machine Whirlpool

7 0 Cubic Feet Top Loading Whirlpool Electric Dryer 7 Months Old Model Wed481ew Ebay
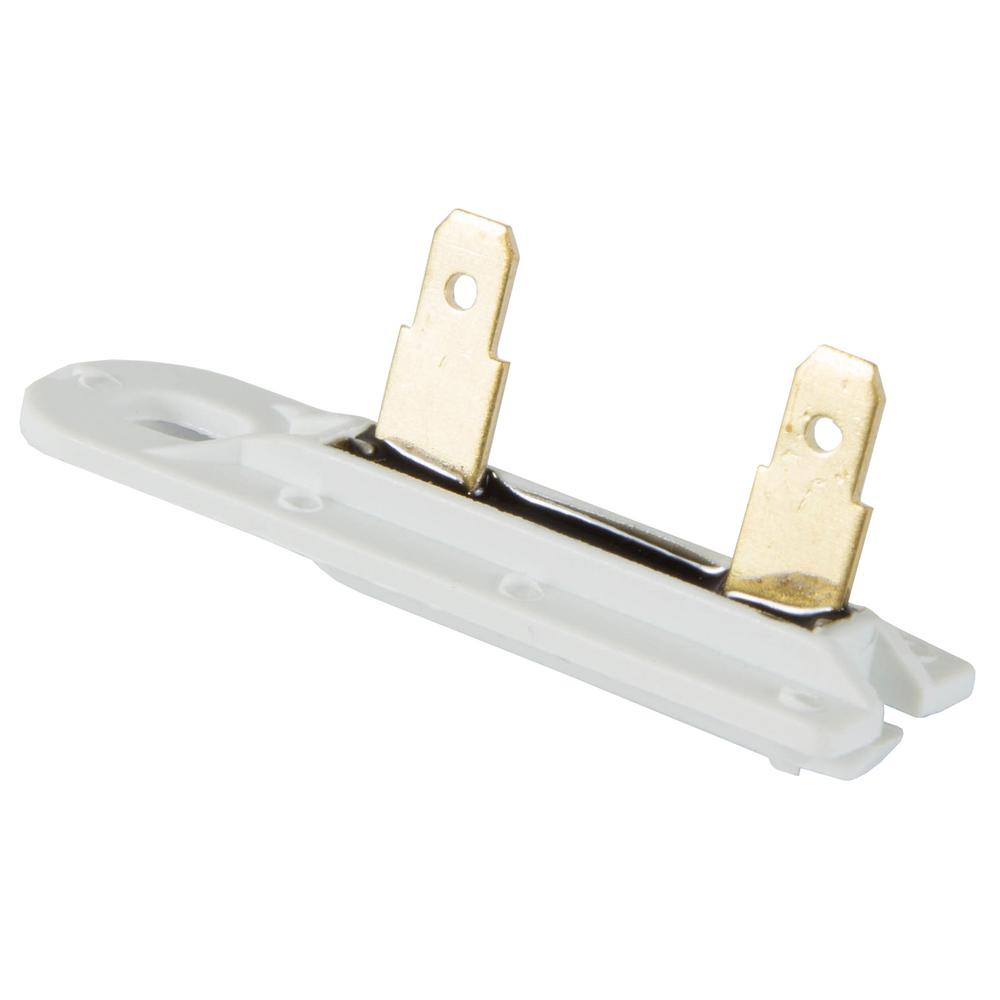
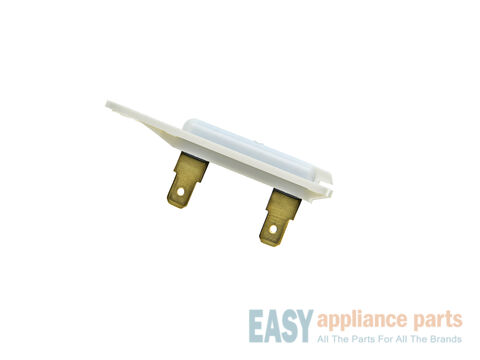
Wen Handyman Dryer Thermal Fuse Oem Part Number 3392519 Q D0031 The Home Depot
Whirlpool Dryer Not Running Repair Guide

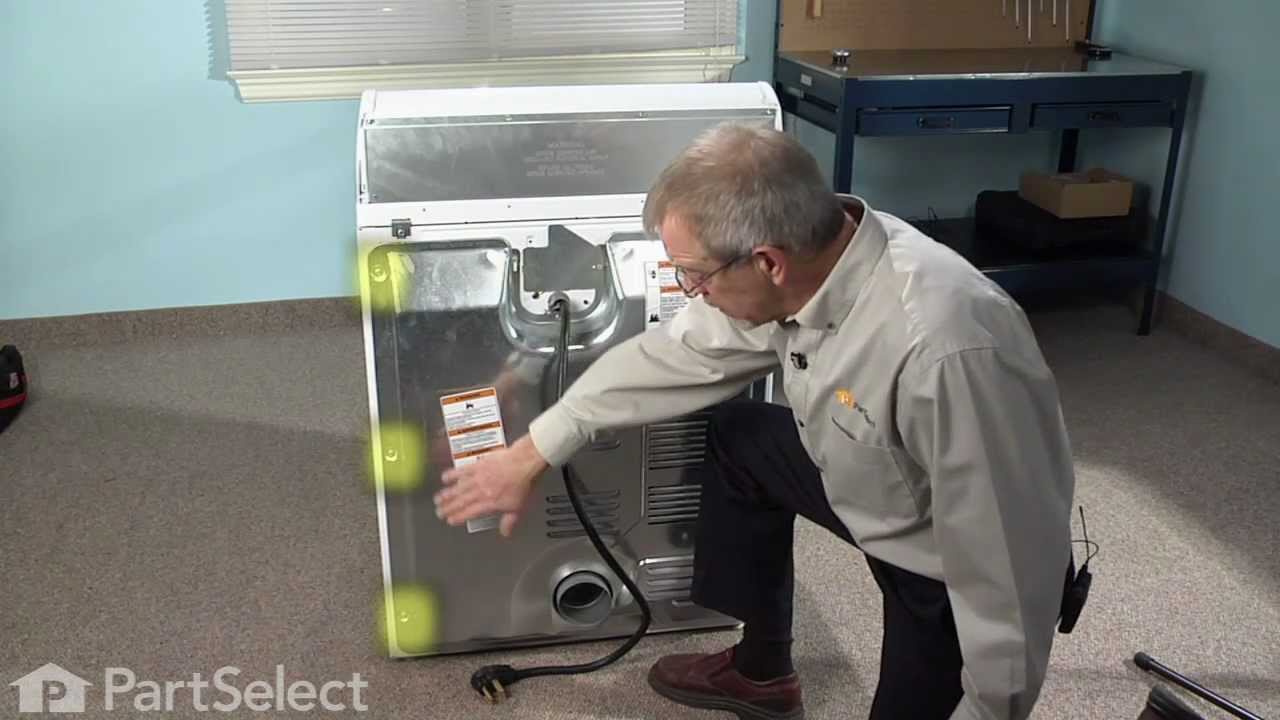
Dryer Repair Replacing The Idler Pulley Assembly Whirlpool Part 691366 Youtube
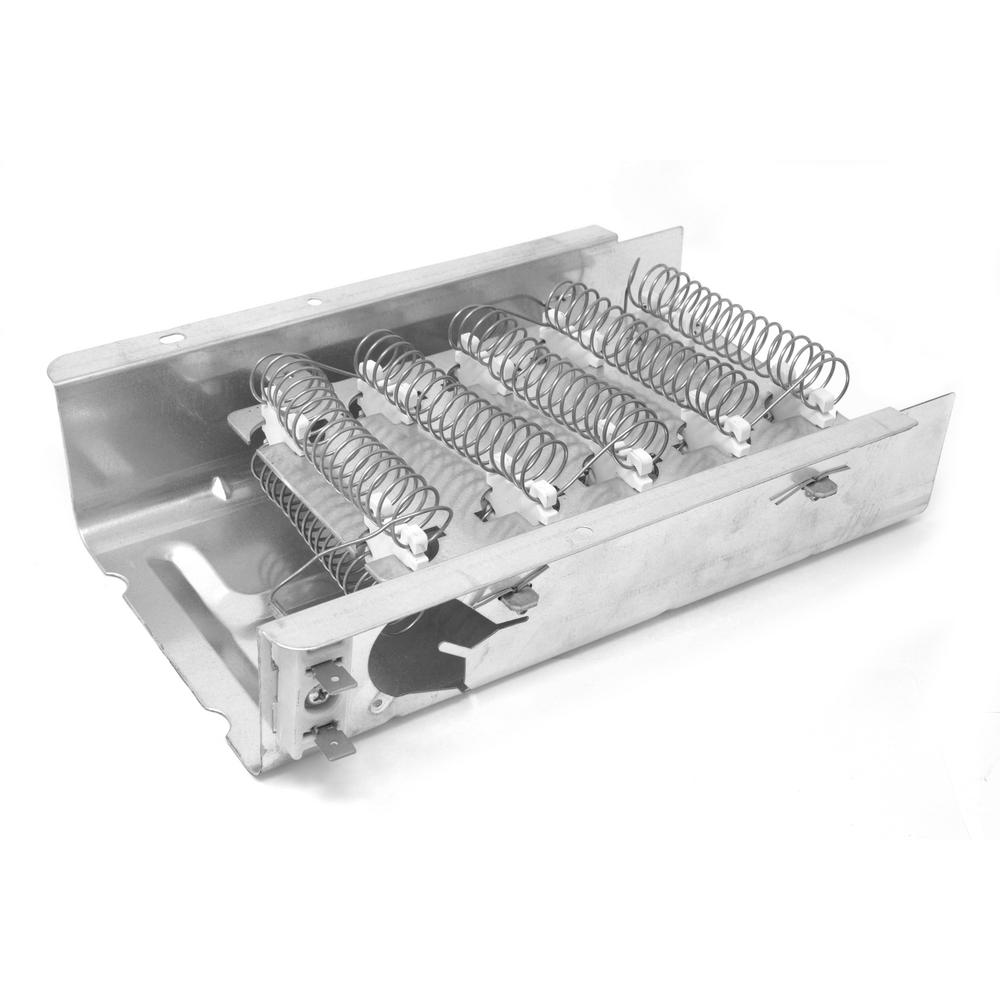
Wen Handyman Dryer Heating Element Oem Part Number 279838 Q D0036 The Home Depot
Https Encrypted Tbn0 Gstatic Com Images Q Tbn 3aand9gcthffxk61h7nyaborisps5bbe Yccoefgb847zlqgxnyp1it3ec Usqp Cau

Amazon Com 4 Pack W10861225 White Dryer Door Handle Replacement For Whirlpool Wed4815ew1 Dryer Compatible With W10714516 Dryer Handle Upstart Components Brand Home Improvement

Whirlpool Awoc7102 Front Loader Washing Machine Service Manual Washing Machine Service Washing Machine Front Loading Washing Machine

Pt600l Whirlpool Dryer Power Cord Parts Dr
Whirlpool Dryer Parts Whirlpool Parts

Dryer Repair Replacing The Control Board Whirlpool Part W10111606 Youtube
Source : pinterest.com
